What are Greenhouse GEMS?
Resource articles for all types of growers! Our information revolves around topics including:
Grower – Information & techniques that growers can implement now for successful crops.
Education – Concise explanations of necessary to know industry information for all grower sizes.
Maintenance – This month in your greenhouse to maximize production & longevity.
Seasonal – A variety of topics from growing to industry news.
Greenhouse GEMS – November 2021
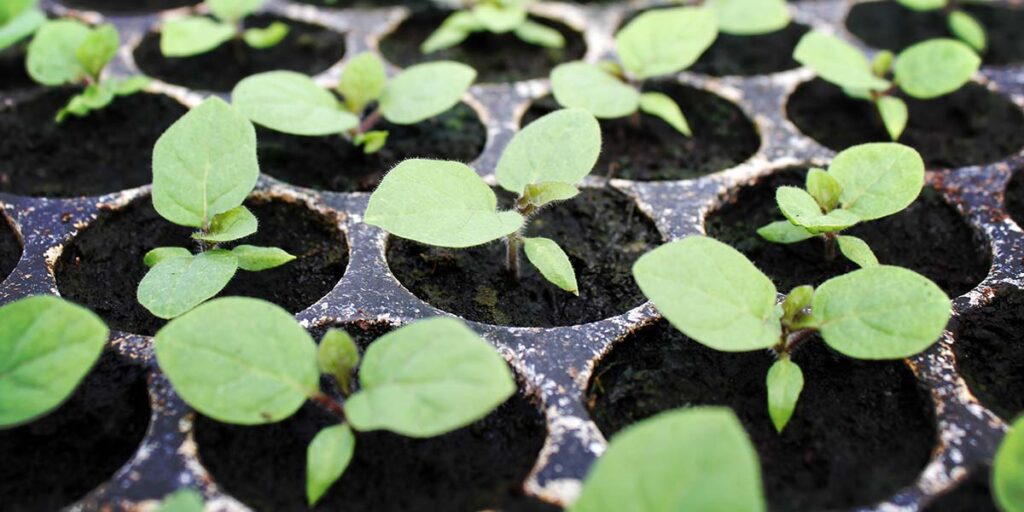
Grower – Plugs and cuttings have arrived. Step 1, unboxing!
One of the most exciting times of the year is when your spring plugs and rooted cuttings arrive. The anticipation of the sales, smiles and kind words from customers makes all your hard work appreciated. What is the first step necessary to get all the spring accolades? It starts by opening those just delivered boxes.
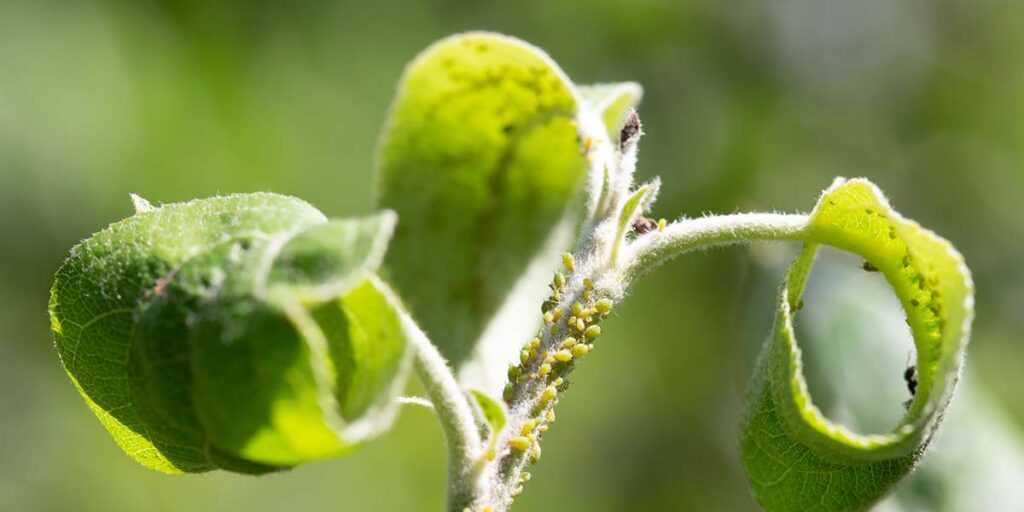
Don’t open them just anywhere, open them in a controlled space. Many greenhouses, even smaller ones, will have an area away from actively growing plants or maybe a storage area that can be used for unboxing. I used the classroom near our greenhouse when teaching horticulture. The point is to reduce the chance you may introduce a pest (insect, disease) into the greenhouse. The potential for whitefly for example living during the shipping process is real, in fact the numbers could grow during shipping. When you unbox, some could fly out onto existing crops in your greenhouse.
Now that you are in a controlled space, check each flat or strip individually for potential issues. Look for signs of pest infestation. Brush the tops of the plants lightly to disturb flying insects. I like to put several yellow sticky cards underneath my inspection space and hang 1-2 above to see if I catch anything. Pull a random few plugs out and give close inspection to check for signs of aphids, mealy bugs, scale or disease. If you discover any of these pests isolate that flat or strip away from the other crops. If one flat has an issue in a box, the potential is real for that entire box to need closer inspection.
Take the infected flats to a quarantine location. Examples might be a separate greenhouse or a headhouse. You might construct a temporary space with plastic around an existing bench (cover top and bottom). I used grow-tents, portable cold frames, and a non-working Lexan mobile seed germination chamber over the years. The goal is to have these plants in a space where they can be treated but reduce their chance to spreading the pest.
Once the appropriate plant protection step has eliminated the pest, regular care and maintenance of the crop can be started and the plants put into production. This might seem like it’s a lot of extra work until you are fighting pests all season that you paid to have delivered to your facility.
One final thing to consider. As soon as the plants are removed, pest or otherwise, water the plants. They will need some hydration. Don’t keep plants in the quarantine area too long, especially if they can’t get sufficient light. Plants held in a classroom, headhouse or some location that doesn’t have proper light and temperatures should only be in this space for 3 days. Just enough time to treat the plants, evaluate control, then return to production greenhouse space.
Education – Controlled release calculations
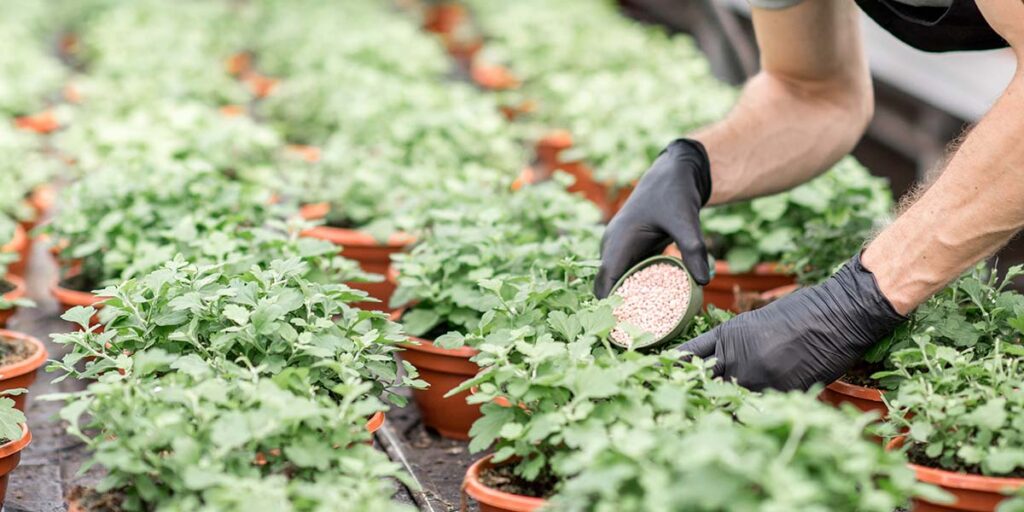
In the October edition of GEMS we discussed the reasons controlled release fertilizer (CRF) could save time, labor, and even money. In most cases the product bag will tell you the amount of pounds or ounces to add per cubic yard or per pot. The one thing the label rate does not tell you is how much nitrogen, phosphorus, or potassium is being released to the soil media. This month let’s look at the calculations to determine how much nutrient fertilizer is being released to the crop.
Lets assume we are using a CRF with an analysis of 17-5-11 at a rate of 6 lbs/cubic yard.
The calculations look like this:
Nitrogen (N): 6 lbs/cubic yard x 0.17 (the 17 nitrogen is listed as a % because it is a % of the bag) = 1.02 pounds of nitrogen released into 6 cubic yards of media
Phosphorus (P) (most fertilizers list (P) as P2O5 so you must account for the O5 portion in the bag:
The actual P of the element is only 43% P
First we take .05 (remember % in bag) X 0.43 = .02 (actual P in bag)
.02 actual P x 6 lbs/cubic yard = .13 pounds P is being applied to the 6 lbs/cubic yard
Potassium (K) is the third number of our 17-5-11. Fertilizer bags list potassium as potash with only 83% being actual potassium. Like with phosphorus we must account for this first.
.11 (% in bag total potash) X .83 (portion of potash that is actual K) = .091
.091 X 6 lbs/cubic yard = .5 (half pound) of K is being applied to 6 lbs/cubic yard
This may seem like a lot of work when you could just follow the bag. This is true but some issues such as the following might arise: one bag might be used for numerous crops, you may want to push the crop late in the growing cycle for more growth but not hit toxicity levels. Nursery crops may have a total amount applied of a certain nutrient before toxicity levels are hit.
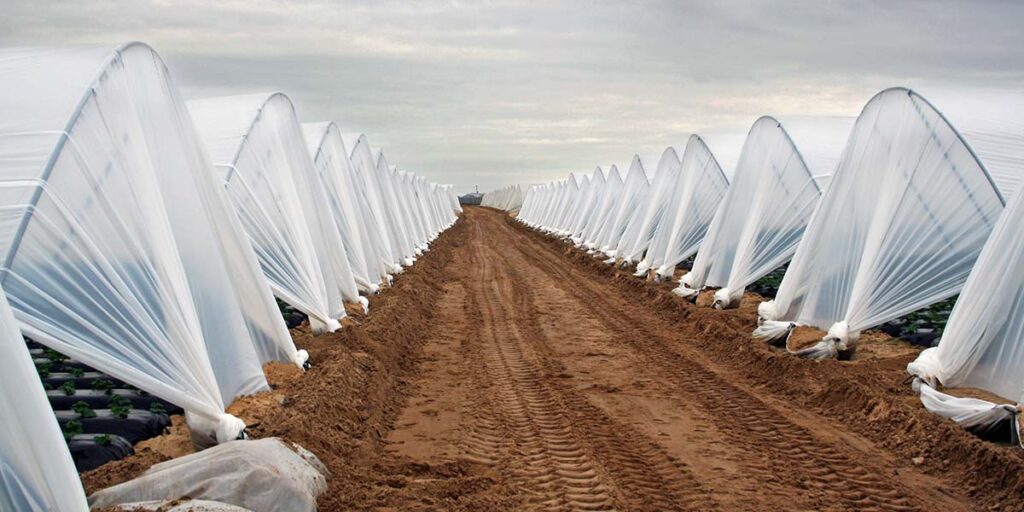
Maintenance – Poly replacement on over-wintering and season extension houses
As temperatures begin to cool preparation for winter should begin for poly structures. One of the many jobs included in winter prep is re-covering or re-installing polyethylene (poly) on greenhouses, hoop-houses, cold frames or high tunnels.
Things to consider:
- If the poly was removed in the spring layout and evaluate for quality. Look for rips, holes or an overall yellowing. Small holes or tears can be patched with poly tape. Always roll poly when storing, fold as little as possible.
- If the poly has an overall yellow appearance then light transmission will be reduced. This might not be a big deal if you are over-wintering. If, growing yellowed poly is in need of replacement.
- Consider your goals. Houses or cold frames used for over-wintering might be best re-covered with an opaque material that blocks most light to reduce sun penetration that would increase temperatures signaling growth in overwintered plants.
- If you are re-covering or covering for the first time consider poly longevity. If you are looking for 1 year only then a 3, 4 or 6 mil product could save some money and perform admirable.
- 6 mil or greater could last up to 4 years depending on many maintenance and environmental factors.
- Other factors that can be purchased as part of new poly: chemical additives for UV light, condensation, pigments that reduce heat loss (night) and heat buildup (day).
A few points on installing your product:
- Larger the house the more assistance needed to install
- Try not to install on windy days
- Look for rough areas or places the poly could get cut. Cover or remove these areas.
- Eliminate folding if possible
- Secure one side then stretch poly over the house keeping tension.
- Secure poly as you go from one side to another. Don’t secure the side then try and do the top. This will create bubbles and loose areas.
- Make sure 6-12” is hanging over the ends to allow a holding point and small space for stretching as poly heats and cools during the winter season.
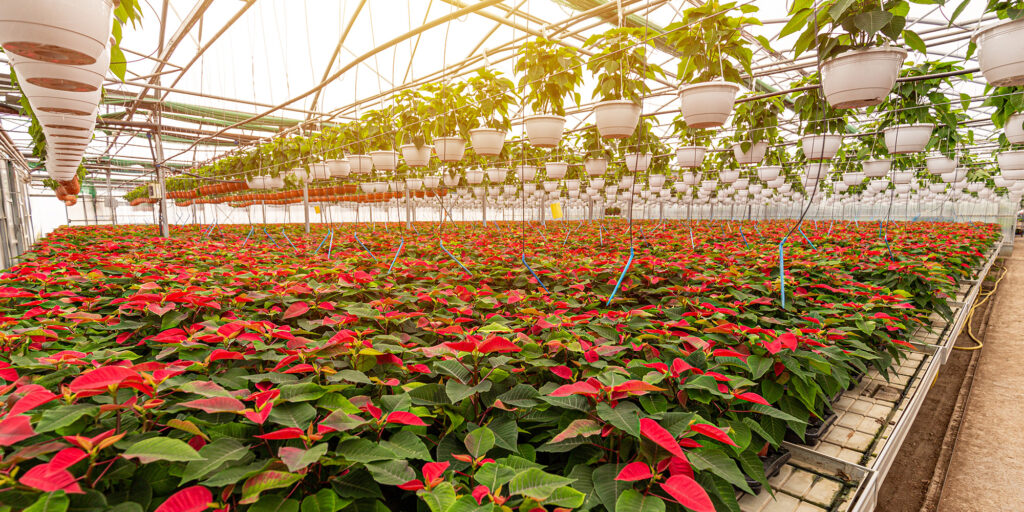
Seasonal – The Poinsettia sale is near: Enhancing color, reduce fertility & water
Week 13 (November 1)
- Continue to feed at 250 ppm with each watering.
- Bract color should now be evident.
- Maintain night temperature of 65°F for best bract expansion.
- Continue to monitor for whitefly. Be sure to check under oldest leaves throughout crop and yellow sticky cards.
Week 14 (November 8)
- Continue to feed at 250 ppm with each watering.
- Continue to monitor for whitefly. Be sure to check under oldest leaves throughout crop and yellow sticky cards.
Week 15 (November 15)
- Stop fertilizing at this time.
Week 16 (November 22)
- Be cautious of overwatering as crop matures and moisture needs are less.
- Keep humidity down especially if cloudy/wet weather.
Week 17 (November 29)
- Poinsettias now ready for sale.
- Night temperature can be turned down to 62°F to hold best color.