What are Greenhouse GEMS?
Resource articles for all types of growers! Our information revolves around topics including:
Grower – Information & techniques that growers can implement now for successful crops.
Education – Concise explanations of necessary to know industry information for all grower sizes.
Maintenance – This month in your greenhouse to maximize production & longevity.
Seasonal – A variety of topics from growing to industry news.
Greenhouse GEMS – October 2021
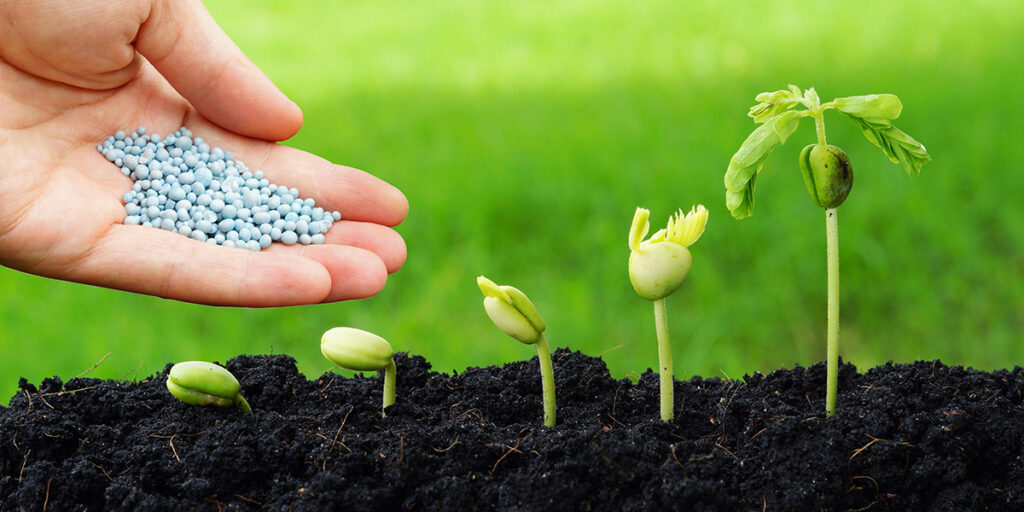
Grower – Controlled release fertilizers, can they save you time?
Labor issues nationwide are requiring growers to save time while maintaining the same quality. One way this could be done is by moving away from soluble fertilizers. This move may not be the right answer for larger growers with more labor and highly skilled growers. If you are a smaller grower, hobby grower or managing a school greenhouse where growing is not your primary job this move could provide some potential time savings.
Often referred to as controlled release fertilizer these products can be a complete fertilizer (having N-P-K) with wide ranges in nutrient availabilities. They also can be used in various stages of plant production, propagation/starting, growing, finishing, bloom are common examples. You may hear the term slow release used interchangeably with controlled release. Slow-release products are mainly organic in nature where controlled release tend to be coated or chemically reacted products that ensure a certain nutrient release curve.
Controlled release products can be the sole source of fertility for growing greenhouse plants. The product can be incorporated (lbs/cu yd) into the growing media at planting. This puts all the nutrients a crop needs in the pot at one time without regular follow-up soluble applications, saving the smaller grower time. One key is making sure that the appropriate rate is mixed into the media at planting. In the Education GEMS (below) rates will be discussed further.
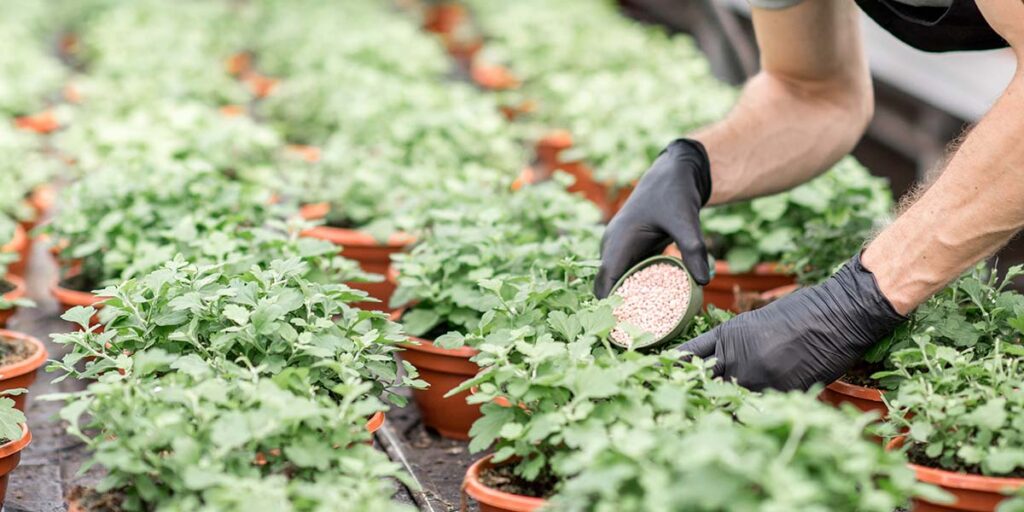
Controlled release products can also be top-dressed on the top of the crop, this technique is more common as a supplemental application in outdoor nursery crops or mother cutting stock in greenhouses. Some growers don’t like the lack of nutrient control, so they use a combined method of applications; mix in half the recommended rate of controlled release fertilizer then supplement with soluble fertilizer applications occasionally based on visual and plant media testing. This too can save time by not requiring weekly soluble fertilizer applications. The grower also gets the advantage of maintaining some nutrient control. Controlled release products normally will also provide some micronutrients, have low burn potential. Plants can be over fertilized with controlled release products just like when using soluble products if excessive rates are applied.
Some final thoughts on using controlled release products.
- Studies have shown a reduced nutrient leaching which is a good environmental benefit. This also means that more nutrient stays in the pot where it is used by the plant thus a bigger bang for the buck.
- Using this technology is a form of automation due to the lack of regular soluble fertilizer inputs.
- Controlled release products tend to cost more per bag or pound of nutrient but these costs are offset by the reduced labor needs and increase plant uptake.
- These products can persist up to 6+ months with 3-4 months of release being most common for annual greenhouse production.
- Release curves are dependent on temperature (curves are based on 70˚-75˚ degrees) and moisture. Greenhouses that are growing hot or excessively moist will cause the nutrients to be released quicker, the opposite is true if growing cool/cold and dry. If products are managed properly some nutrients are still available for customers when they plant in their landscape which can be a great selling point.
- Any growing media that is incorporated with controlled release fertilizer should be used in one month or less to reduce the chances of salt buildup and potential plant damage.

Education – Controlled Release Incorporation Rates
To determine the correct rate its important to take into account that:
- Our recommendations are based on growing media without starter fertilizer.
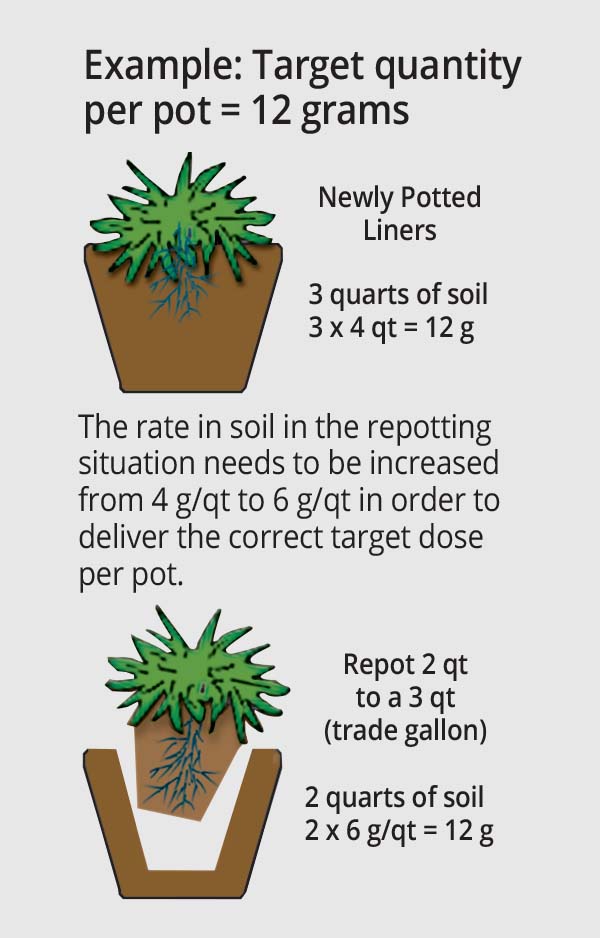
- Correct rates should be delivered to each pot. This is easy to achieve with a newly potted liner, but care must be taken when repotting or bumping up from one container size to a larger one. With repotted plants the old root ball can displace a significant volume in the new container that will not have fertilizer. This dilution effect should be compensated for in order to deliver the correct dosage per pot. Example: 2 quart pots moved to 1 gallon pots.
- For a specific recommendation it is advised to contact your ICLSF Territory Manager who will be able to make recommendations based on your crops and growing circumstances.
Label rates on fertilizer bags are generic suggestions to cover a wide range of situations. ICL-SF bases these values on in-house research and published research data. However, many environmental factors, including irrigation water quality, production practices and crop needs will impact the success of your fertilizer program. The application rates listed on ICL-SF bag labels are intended as a guideline in developing a fertilization program. These rates may or may not apply to your area or growing conditions, and these suggestions should only serve as starting points for growers.
It is the responsibility of the grower to determine the most appropriate rate. The best rate for any individual operation may be higher or lower than suggested on the bag based on your growing conditions. Only you can determine the best rate for your operation with well-designed production trials that use controls.
Product selection and application rates should be based on individual grower practices. Below are some general cultural factors that can influence product rate.

Use a higher rate with plants that are:
- Heavy feeders, salt tolerant
- Fast growing
- Established plants
- Higher longevity class
- Frequent overhead irrigation or high rainfall
- Spring feeding
- Coarse textured media with high leaching potential
- Uncomposted media
Use a lower rate with plants that are:
- Slow growing, salt sensitive
- Propagation
- Shorter longevity class
- Drip irrigation or low rainfall
- Combination liquid/controlled release
- Fall feeding
- Growing media containing more than 25 percent mineral soil
- Fine textured media with low leaching potential
- Field-grown nursery stock
- Well-composted media
Osmocote Plus 15-9-12
Osmocote Bloom 12-7-18
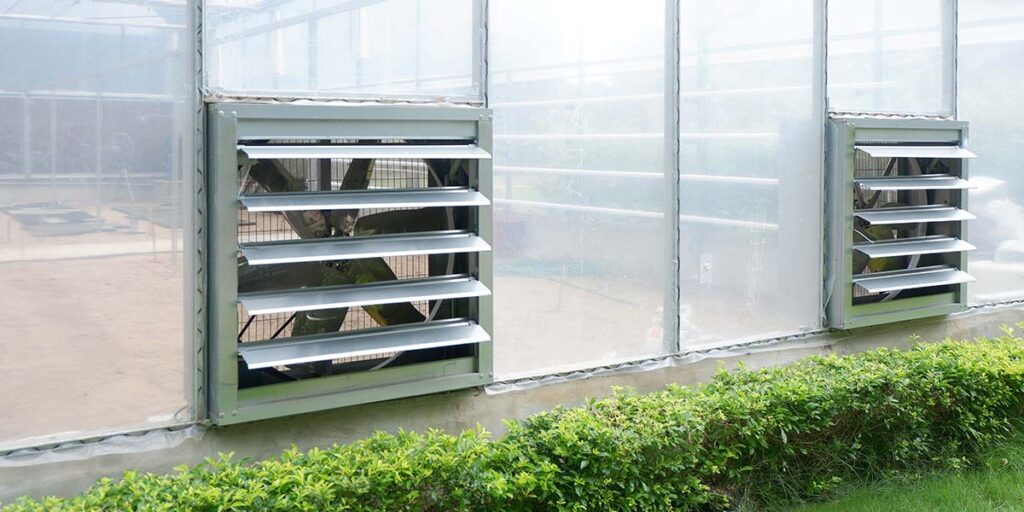
Maintenance – Ventilation fans, post summer care. Prevent inadequate temperatures.
Clean ventilation fans after the summer of constant use. According to the University of Florida as little a few ounces of debris on fan blades and shutters can reduce efficiency by as much as 30%.
After turning the power off to the fans remove the cage fans and clean. Clean and lubricate the ventilation shutters for free movement.
Check blades for proper connection, rotation, clean and lubricate. Check fan belt for cracks and wear. Make sure the motor is secure to the fan frame. Check belt tightness over both the motor and fan blade pulleys. Belt should not flop while in operation. If your fan has excessive squealing the belt could need adjustment, or the motor bearings are worn and need attention. If your motor allows the bearings to be lubricated do so.
HAF fans work hard year-round also and need attention as well. The same process describe for exhaust fans can be followed. One main difference is HAF fans typically are direct mounted to the motor and don’t have belts. By regularly cleaning and inspecting ventilation fans you will improve temperature controls in your greenhouse.
Lastly, remove any obstructions inside or outside your greenhouse that would limit air to move freely inside and out of the greenhouse.
University of Florida – IFAS Extension Article
Maintenance Guide for Greenhouse Ventilation & Evaporative Cooling Heating Systems
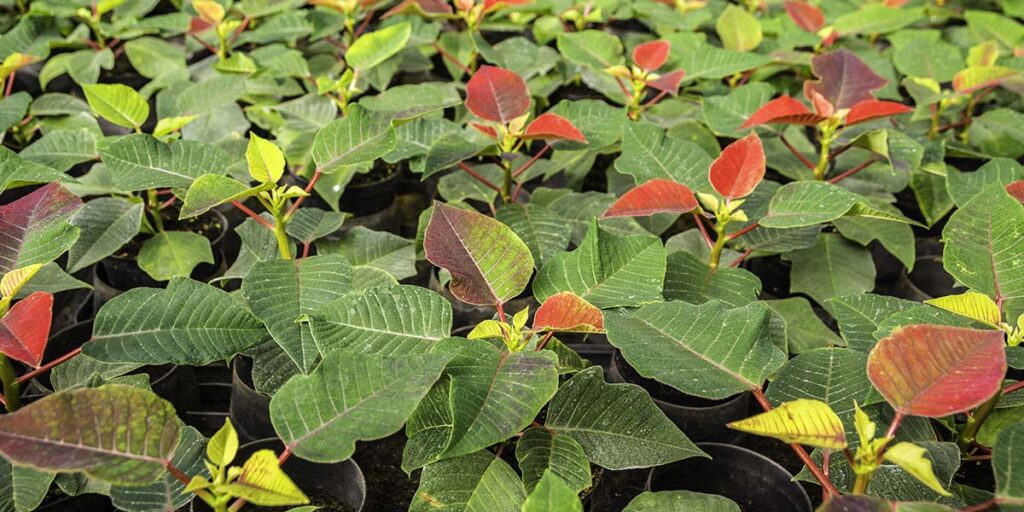
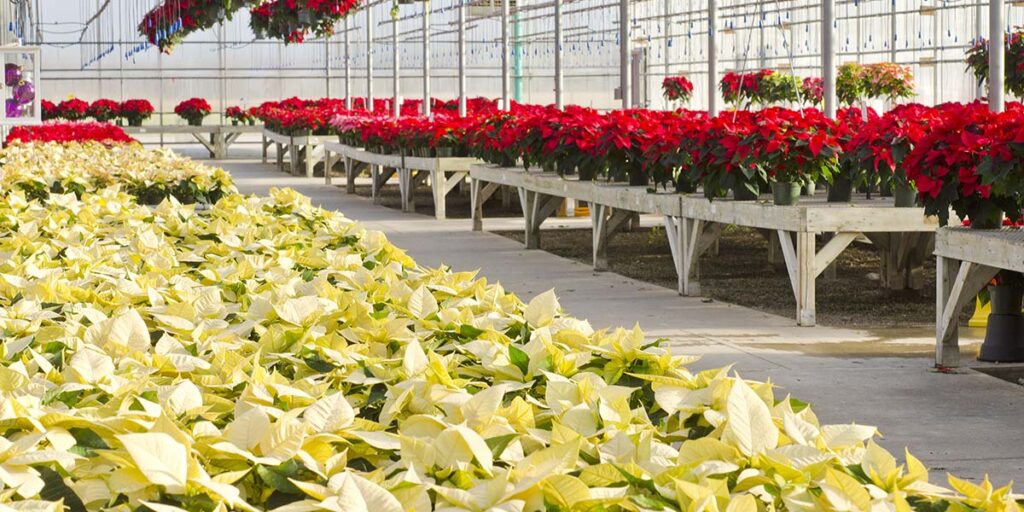
Seasonal – Poinsettia, bract color changing, Keep up that fertilizer!
Weeks 9 – 12 of the Poinsettia Guide
Week 9 – (October 4)
- Continue to feed at 250 ppm with each watering
- Continue to monitor for whitefly. Be sure to check under oldest leaves throughout crop and yellow sticky cards
- Watch irrigation needs as a very active plant metabolism will demand increasingly more water
Week 10 – (October 11)
- Continue to feed at 250 ppm with each watering
- Test soil pH / make sure it reads between 5.8 and 6.5
Week 11 – (October 18)
- Continue to feed at 250 ppm with each watering
- Branching shoots should now be nearing half of their final length
- Maintain night temperature of 65˚F for best bract expansion
- Continue to monitor for whitefly. Be sure to check under oldest leaves throughout crop and yellow sticky cards
Week 12 – (October 25)
- Some poinsettia varieties should begin to show bract color
- Continue to feed at 250 ppm with each watering
- Test soil pH / make sure it reads between 5.8 and 6.5
- Continue to monitor for whitefly. Be sure to check under oldest leaves throughout crop and yellow sticky cards