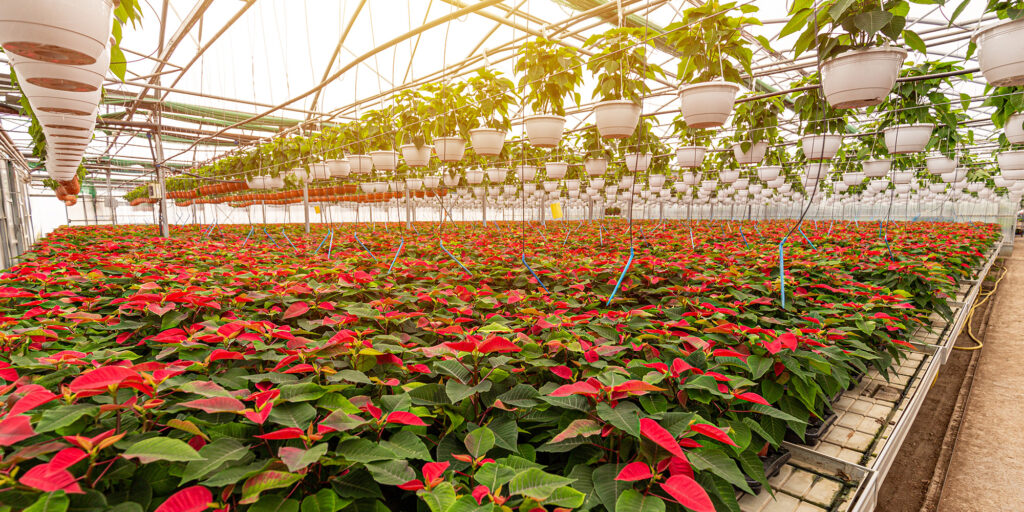
Poinsettias are indeed a challenging crop to grow well. Their crop time is relatively long compared to that of many other crops and their selling window is short, usually just a couple weeks. I have always said that poinsettias are the most predictable crop to grow while, at the same time, they are also the most unforgiving. Thus, they are not for every situation. Few small growers still attempt to grow poinsettias as they often find that they can purchase finished plants cheaper than if they bought the cuttings and grew the crop themselves. Some larger growers do grow poinsettias as they then justify keeping their better employees on a permanent basis and are also able to add some cash flow during an otherwise very slow time of the year. While not the best option for being a money-maker, they are indeed a great learning crop. The discipline needed to successfully grow poinsettias and the rush one gets from bringing them into color, in my mind, makes them the perfect learning tool for any FFA or college AG program.
Scheduling
As with mums, poinsettias grow vegetatively during long days. They initiate flowers when night length is longer than day length which typically occurs around Sept 21st. This can vary a bit depending on variety and region. Poinsettia varieties differ in their timing from flower initiation to full bract color. Today’s commercial market demands poinsettia availability from Halloween right up to Christmas Eve. So, all varieties are categorized as early, mid, or late season, depending on their programmed schedule. Most growers will bring in rooted cuttings around the middle of August for a typical 6” poinsettia targeting the late November/Early December market.
Well planned crop schedules make this crop much easier to successfully grow and sell. These schedules vary depending on region, pot size and target sale dates. While a well grown crop is indeed a challenge, it is also very rewarding and inspiring to the students and professionals that see it through. If rules are followed and schedules adhered to, a great crop can easily be grown.
Upon Arrival & Potting
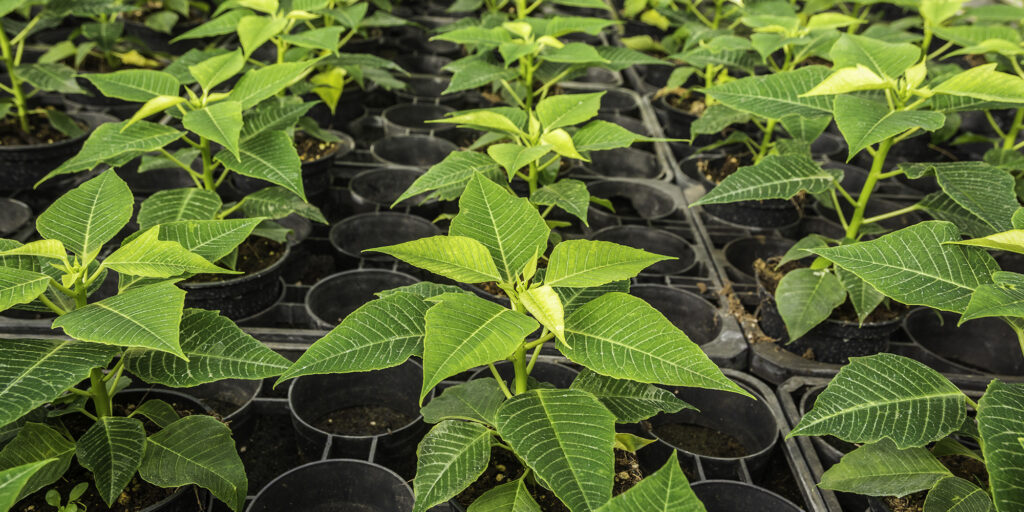
Rooted cuttings should be unpacked immediately after receiving. These are typically shipped “Next-Day” in the heat of the summer and must be taken out of the shipping boxes as soon as they arrive. They should be put on a greenhouse bench under some shade, where they can then absorb much-needed light and fresh air. Make sure the individual strips are spaced about 8” apart so the larger leaves do not overlap.
Cuttings should be planted as soon as possible after unpacking. They can sit on a bench for a few days but the sooner you can plant the better the finished product will be. Do not let these cuttings dry out. Daily watering will be necessary and, if left on the bench for more than a few days, some fertilizer will be needed as well to keep the cuttings healthy and actively growing.
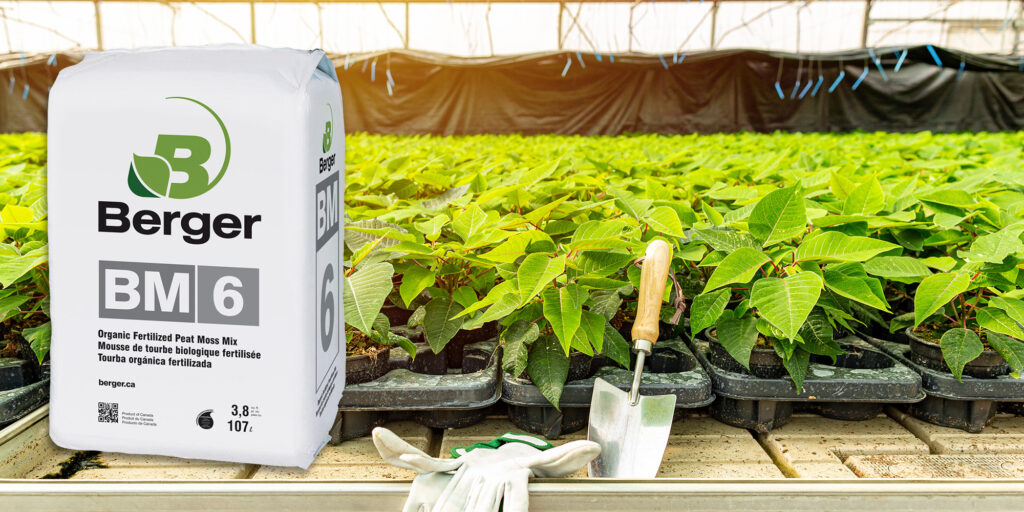
Use a porous, peat-based, commercial soil mix for poinsettias. For best results, use one of the Pro Mix products with the bio fungicide added. This will help prevent some of the root diseases that can cause problems with a poinsettia crop. Another good soil for poinsettias is the All-Purpose Berger BM 6 which has more porosity and provides increased drainage for healthier root systems. Be sure to water in your pots before planting cuttings.
It is important to hydrate your cuttings prior to planting in moist soil. Make sure that the top of the rooting medium is at the same depth as the top of the growing medium. Immediately water the plants with a liquid fertilizer. Do not use Osmocote or any other time release fertilizer on poinsettias. A constant liquid fertilizer (CLF) at a rate of 250 ppm is best.
One key point with newly planted poinsettias is to make sure they get lightly watered every day for the first week until the root system extends into the soil that they were planted in. Until that point, the cuttings can go dry even though the soil around them remains moist. This is especially true with artificial rooting media such as Oasis and Rock Wool. The goal is to keep the rooting plug media moist, so roots remain hydrated as they then begin to extend into the new media. Most growers will also lessen stress to their plants at this time by lightly sprinkling or misting their plants for a few days until new roots are established. Increasing overall humidity can also be achieved by wetting greenhouse floors.

Pinching
The purpose of pinching is to remove the apical dominance of the plant which will then allow lateral branches to develop. Pinching is typically scheduled two to three weeks after planting rooted cuttings. By then, roots should reach the edges of the pots showing that the plants are well established. Some growers will wait longer but it is best not to allow more than three weeks after planting before pinching your plants.
This pinch can be done with your fingers or with a knife. This pinch will remove the stem tip from each plant. Try to leave 6 leaves under the pinch point. This will give you an at least 5 full bracts when the plant matures. It often helps if one or two of the top, immature leaves are pinched off at this time also. This helps even branching for a more uniform plant and allows for more air flow and light to reach the inner canopy of the plant from where the new branches will emerge.
When pinching it is also advisable to remove any premature stalks emerging from the bottom leaf nodes as these will affect the new branches and prevent a well-rounded plant from developing. These aggressive shoots often occur if one waits too long between planting and pinching. Keep in mind when removing these that you still want to leave 5 potential branches on the plant between the base of the plant and the point of pinch.
Here is a general pinching schedule that works well for most midseason
(Late November/Early December) poinsettia cultivars:
| Pot Size | Plants per Pot | Planting Date | Pinch Date |
|---|---|---|---|
| 8” | 3 | 7/25 | 8/18 |
| 6” | 1 | 8/15 | 9/1 |
Lastly, poinsettia sap is not toxic unless one has a latex sensitivity. But this sap is very sticky. If not using gloves, Avon Skin-so -Soft works well to remove latex from hands. Before wetting your hands with soap or water, rub them well with the Skin-so-Soft and then wash off after lathering with soap and warm water.
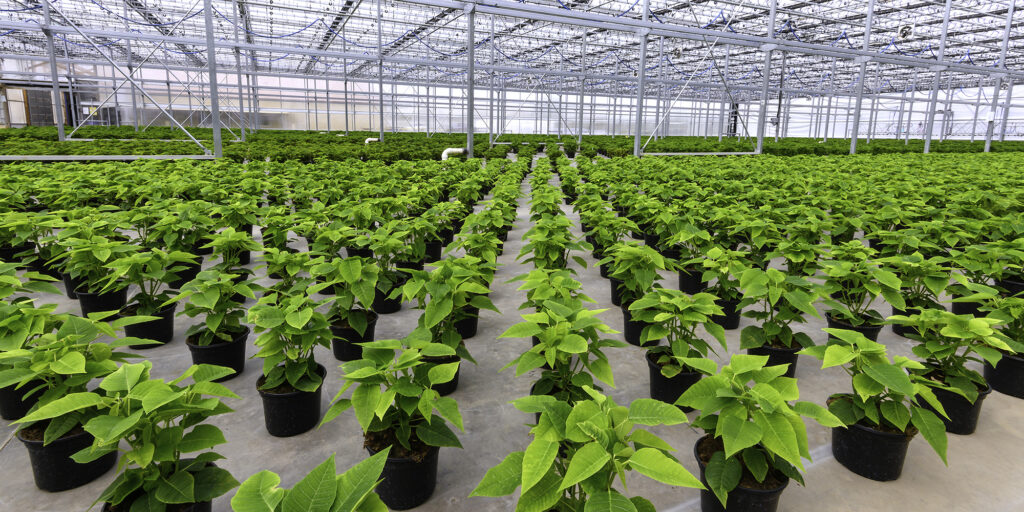
Spacing
Poinsettias must be spaced when the branches just begin to touch. This will help force them into an upright or “V” orientation which makes for a much better presentation. Poinsettias are “lazy” and if you space too early, the branches will tend to grow horizontally which can easily break off when forced up while sleeving. The correct spacing window is a short one so be sure to space just as branches begin to touch or they can stretch up quickly as they compete for light, potentially making weak, undesirable plants.
Final spacing can vary depending on cultivar and desired size at maturity. Below is a general, conservative target for final spacing on your benches.
6” – 1 plant per pot / on 15” centers or 1.5 square feet per plant
8” – 3 plants per pot / on 25” centers or 4.35 square feet per plant
Light/Exposure
Light shade (~50%) should be provided over newly planted cuttings to reduce stress and allow these new transplants to develop root systems. At about two weeks after pinching, any shading should be removed for best plant growth. If you do keep shade over your plants at this point, you can cause excess stem elongation between leaves and a weaker, taller plant will be the result.
HAF and ventilation fans are imperative throughout the crop to keep plants cool and mitigate stress during the late summer months.
Temperatures
During the vegetative growth period (from planting to flower initiation) temperatures can be difficult to control due to our summer weather. Fortunately, at this time, warmth is needed and will promote good growth to build up the size of your plant. It is best to target 80°F as your daytime high temperature during the summer months. This can be difficult when outside temps often reach the high nineties. Even with evaporative cooling, it is hard to decrease inside temperatures by over 10 degrees due to our high, summer humidity. A 50% summer shade, early in the crop, is helpful in maintaining moderate temperatures. Try to set your environmental system’s set points at 80°F for day and 68°F for night during this vegetative period.
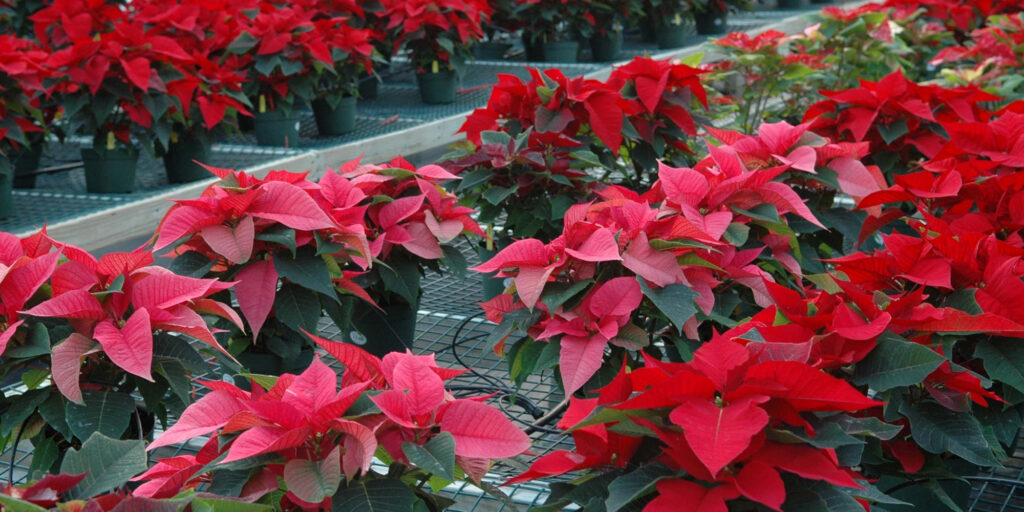
Once flower initiation occurs around September 21st (this can vary a bit by cultivar) it is best to target 78°F as the high temperature and 65°F as your low temperature setting. Continue these temperatures until bract expansion is complete and poinsettias are ready for sale. A few cultivars will finish well at lower temperatures, but most prefer the 65°F night temperature to achieve full sized bracts.
Water/Fertilizer
Never allow poinsettias to become water stressed. This can lead to a variety of physiological issues later in the crop. Again, a CLF of 250 is best with each irrigation. This rate will sustain better growth and a stable soil pH much better than if applied in larger amounts at fixed intervals.
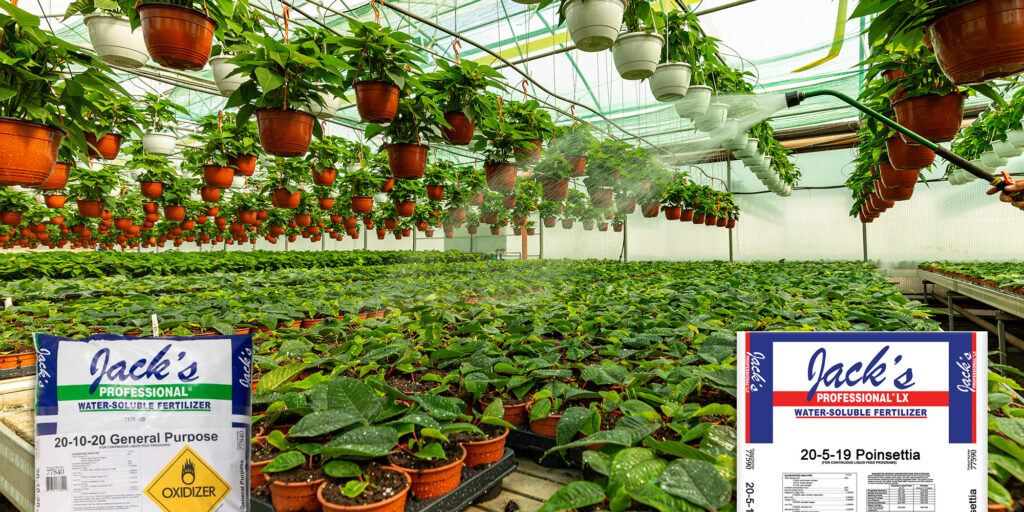
Starting your crop with a general purpose or Peat-Lite 20-10-20 immediately after planting and following up soon after pinching with a poinsettia formulation works best. Special poinsettia fertilizers provide micronutrients including the very important Molybdenum (Mo). If you are going to use 20-10-20 throughout the crop, you will need to add Mo to your fertilizer program. It is very inexpensive and easy to add to your fertilizer stock tank. Make a stock solution by adding about 3.2 oz of Mo to a gallon of water. This stock solution can then be added to your fertilizer stock tank. Use about 1.5 oz of Mo stock solution for every 10 gallons in your fertilizer concentrate tank if you are injecting at 100:1. If you do not include Mo in your fertilizer program you risk unsightly leaf yellowing, edge burn and cupping or rolling of leaves later in the crop.
An easier option would be to use a poinsettia fertilizer that has the proper Mo already included in its formulation. My favorite here would the JR Peters 20-5-19 Poinsettia LX. This has all the proper nutrients at the correct levels and ratios for a successful poinsettia crop.
Your watering schedule will vary depending on the age of the crop, media used and the growing environment. In general, once roots are established, the target time to water when the soil moisture hits that “sweet spot” between wet and approaching dry. This practice is quickly learned by observing the color of the soil and feeling the weight of the pot before and after watering. Watering frequency will gradually increase as the poinsettias mature and then taper off after bracts have expanded and are no longer actively growing. You will want to avoid drastic swings in moisture levels as this can injure roots and potentially cause problems later in the crop. Some leaching from the bottom of the pot is necessary with each irrigation to prevent a build-up of fertilizer salts in the media which can potentially burn the roots and hurt the crop.
Be sure to use drip irrigation and avoid any splashing of water onto the plants, especially later in the crop, as this can leave unsightly mineral/salt deposits on the leaves and bracts.
To maintain a proper fertilization program and soil pH, both a pH and EC meter are recommended, just as they are with spring crops. The pH meter will help you maintain a soil pH between 5.8 and 6.4 which will ensure proper uptake of nutrients. The EC meter will measure the amount of accumulated fertilizer salts in the soil to help you target proper fertility levels and avoid a build-up of too much fertilizer in the media which can potentially burn your roots.
Diseases
Poinsettias are prone to various root and foliar diseases. These pathogens abound and are omnipresent. There is little you can do to eliminate them entirely, but much can be done with a proactive approach where they can be discouraged. Cleanliness is very important. Keeping the growing area clean, keeping hoses off the floor, using clean pots and fresh soil will go far in keeping your plants healthy.
In addition, proper light levels and temperatures, ample air movement as well as proper watering habits all contribute to strong plants which are much better able to fight off disease pressure when and if it occurs. Remember for a disease issue to occur you need the plant, pathogen, and a disease-friendly environment. Our strategy here is to eliminate the disease-friendly environment.
Using a porous potting soil (made with coarser peat) or one with a bio-fungicide is a great measure by which root diseases can be prevented. Preventative fungicides soon after planting can also be helpful, although these can be expensive and with inconvenient re-entry intervals (REI’s).
Insects
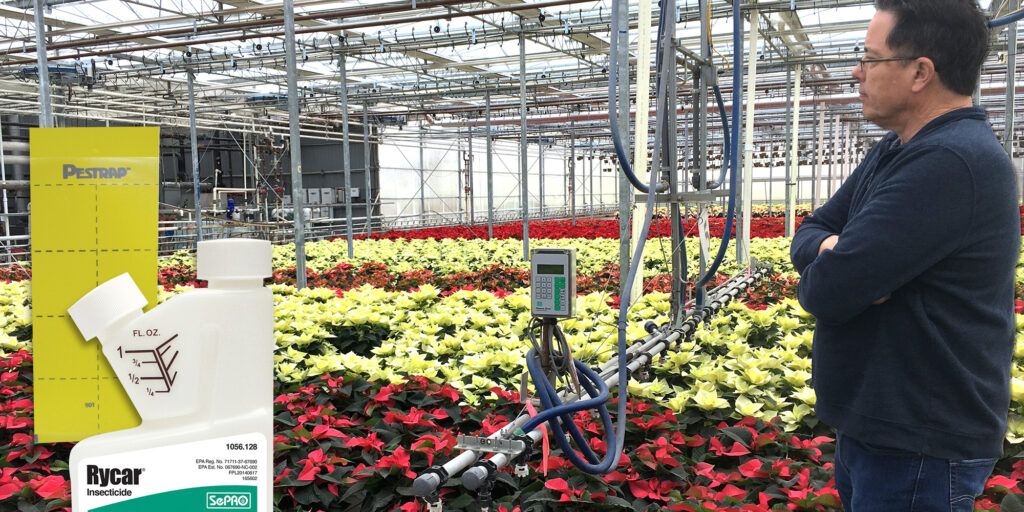
Whitefly is the most notorious poinsettia pest, showing up at any time, especially in fall, seemingly “out of nowhere”. To prevent whitefly populations from developing, monitor your greenhouse with yellow sticky cards. Early in the crop you can treat with Neem oil, making sure to apply early in the morning or on a cloudy day. Be sure to target the undersides of the leaves where they reside. Later in the crop you can treat with Marathon (three weeks after pinch or just after spacing). Biological treatments include tiny wasps, Encarsia Formosa for the greenhouse whitefly and Eretmocerus eremicus for the sweet potato and silverleaf whitefly. All three of these whitefly are known to be poinsettia pests. Be sure to remove your yellow sticky cards before releasing, as these wasps will be drawn to them as well. If whitefly persist or show up late in the crop after bract color, a good chemical control is Rycar which can be sprayed on bracts in full color.
Fungus gnats can be an issue early in the crop but with clean floors, they typically disappear once the foliage covers exposed soil in the pots. The beneficial nematode, Steinernema feltiae, can be used early in the crop to ensure control.
Yellow sticky cards are very helpful to monitor both whitefly and fungus gnats. Monitor routinely to keep track of populations. Spider mites are not typically an issue with poinsettias but may occasionally occur. Make sure pet plants that may harbor the above pests are out of the greenhouse and, as when growing any crop, be vigilant.
Light Pollution
It is important to make sure that no light enters the growing area from nearby ballfields, security lights, etc. This light will disrupt flower initiation and delay or prevent bract color from developing as it should. If the light level entering the greenhouse at night is enough to where you can read a newspaper, it is too bright.
Accessories
Last, but not least, be sure to order your pot covers and sleeves in summer so that they are sure to be delivered in time.
Disclaimer!
If you are doing something with your poinsettias that is different than what is shared above, and all is going well, please continue to grow as you have. Perhaps modify, experiment, and consider other options, but be cautious before changing something that works. Successful growing is not a black and white science. It is the result of general guidelines, one’s own experience & observation, as well as a plethora of many other variables. Some of these variables we have control over and some we do not. The above is only meant as a guide to be considered with caution and a watchful eye.
Questions/Concerns?
If you need help or elaboration on any of the above topics, please feel free to contact us. If you need a source for or advice on annuals, perennials, pH or EC meters, soil or anything else, I can help you with that as well.
Happy Growing!

Mike Hellmann
Plants and Cuttings Manager
P.S. Curious about my background and how I got to Hummert? You can find out more here.